It’s time to get your portal current for 2023!
Before you close up shop for the summer, you should make sure that everything is ready for next year! That’s why we’re going to walk through the steps together.*
*These steps are only intended for Pikmykid Admins who are in charge of Rollover at your school.
Additional Resource – Rollover Wizard Walkthrough Webinar
Step 0
Fill out this quick form if you’re a school admin or in charge of your school’s rollover.
On June 5th, 2023, your Pikmykid portal will populate the rollover checklist for you to start the process! Then you can start with step 1 at your earliest convenience.
Please note:
*if you’re using SFTP or any other data automation option to update your students’ profiles, please skip steps 3, 4, and 6. The automation will add or delete students from your portal, and change their grades, as they are updated on your SIS”
** As a reminder, even if your school is using data automation, your students’ pick-up modes and classrooms might need to be updated before the first day of school, if this information is not being sent on your daily sync. This means you might need to complete Steps 5 and 7 on the checklist below. If you are not sure if your school or district is sending this information, we can help check the files for you. Please reach out to your Account Manager at [email protected]”
Step 1 – Start Rollover
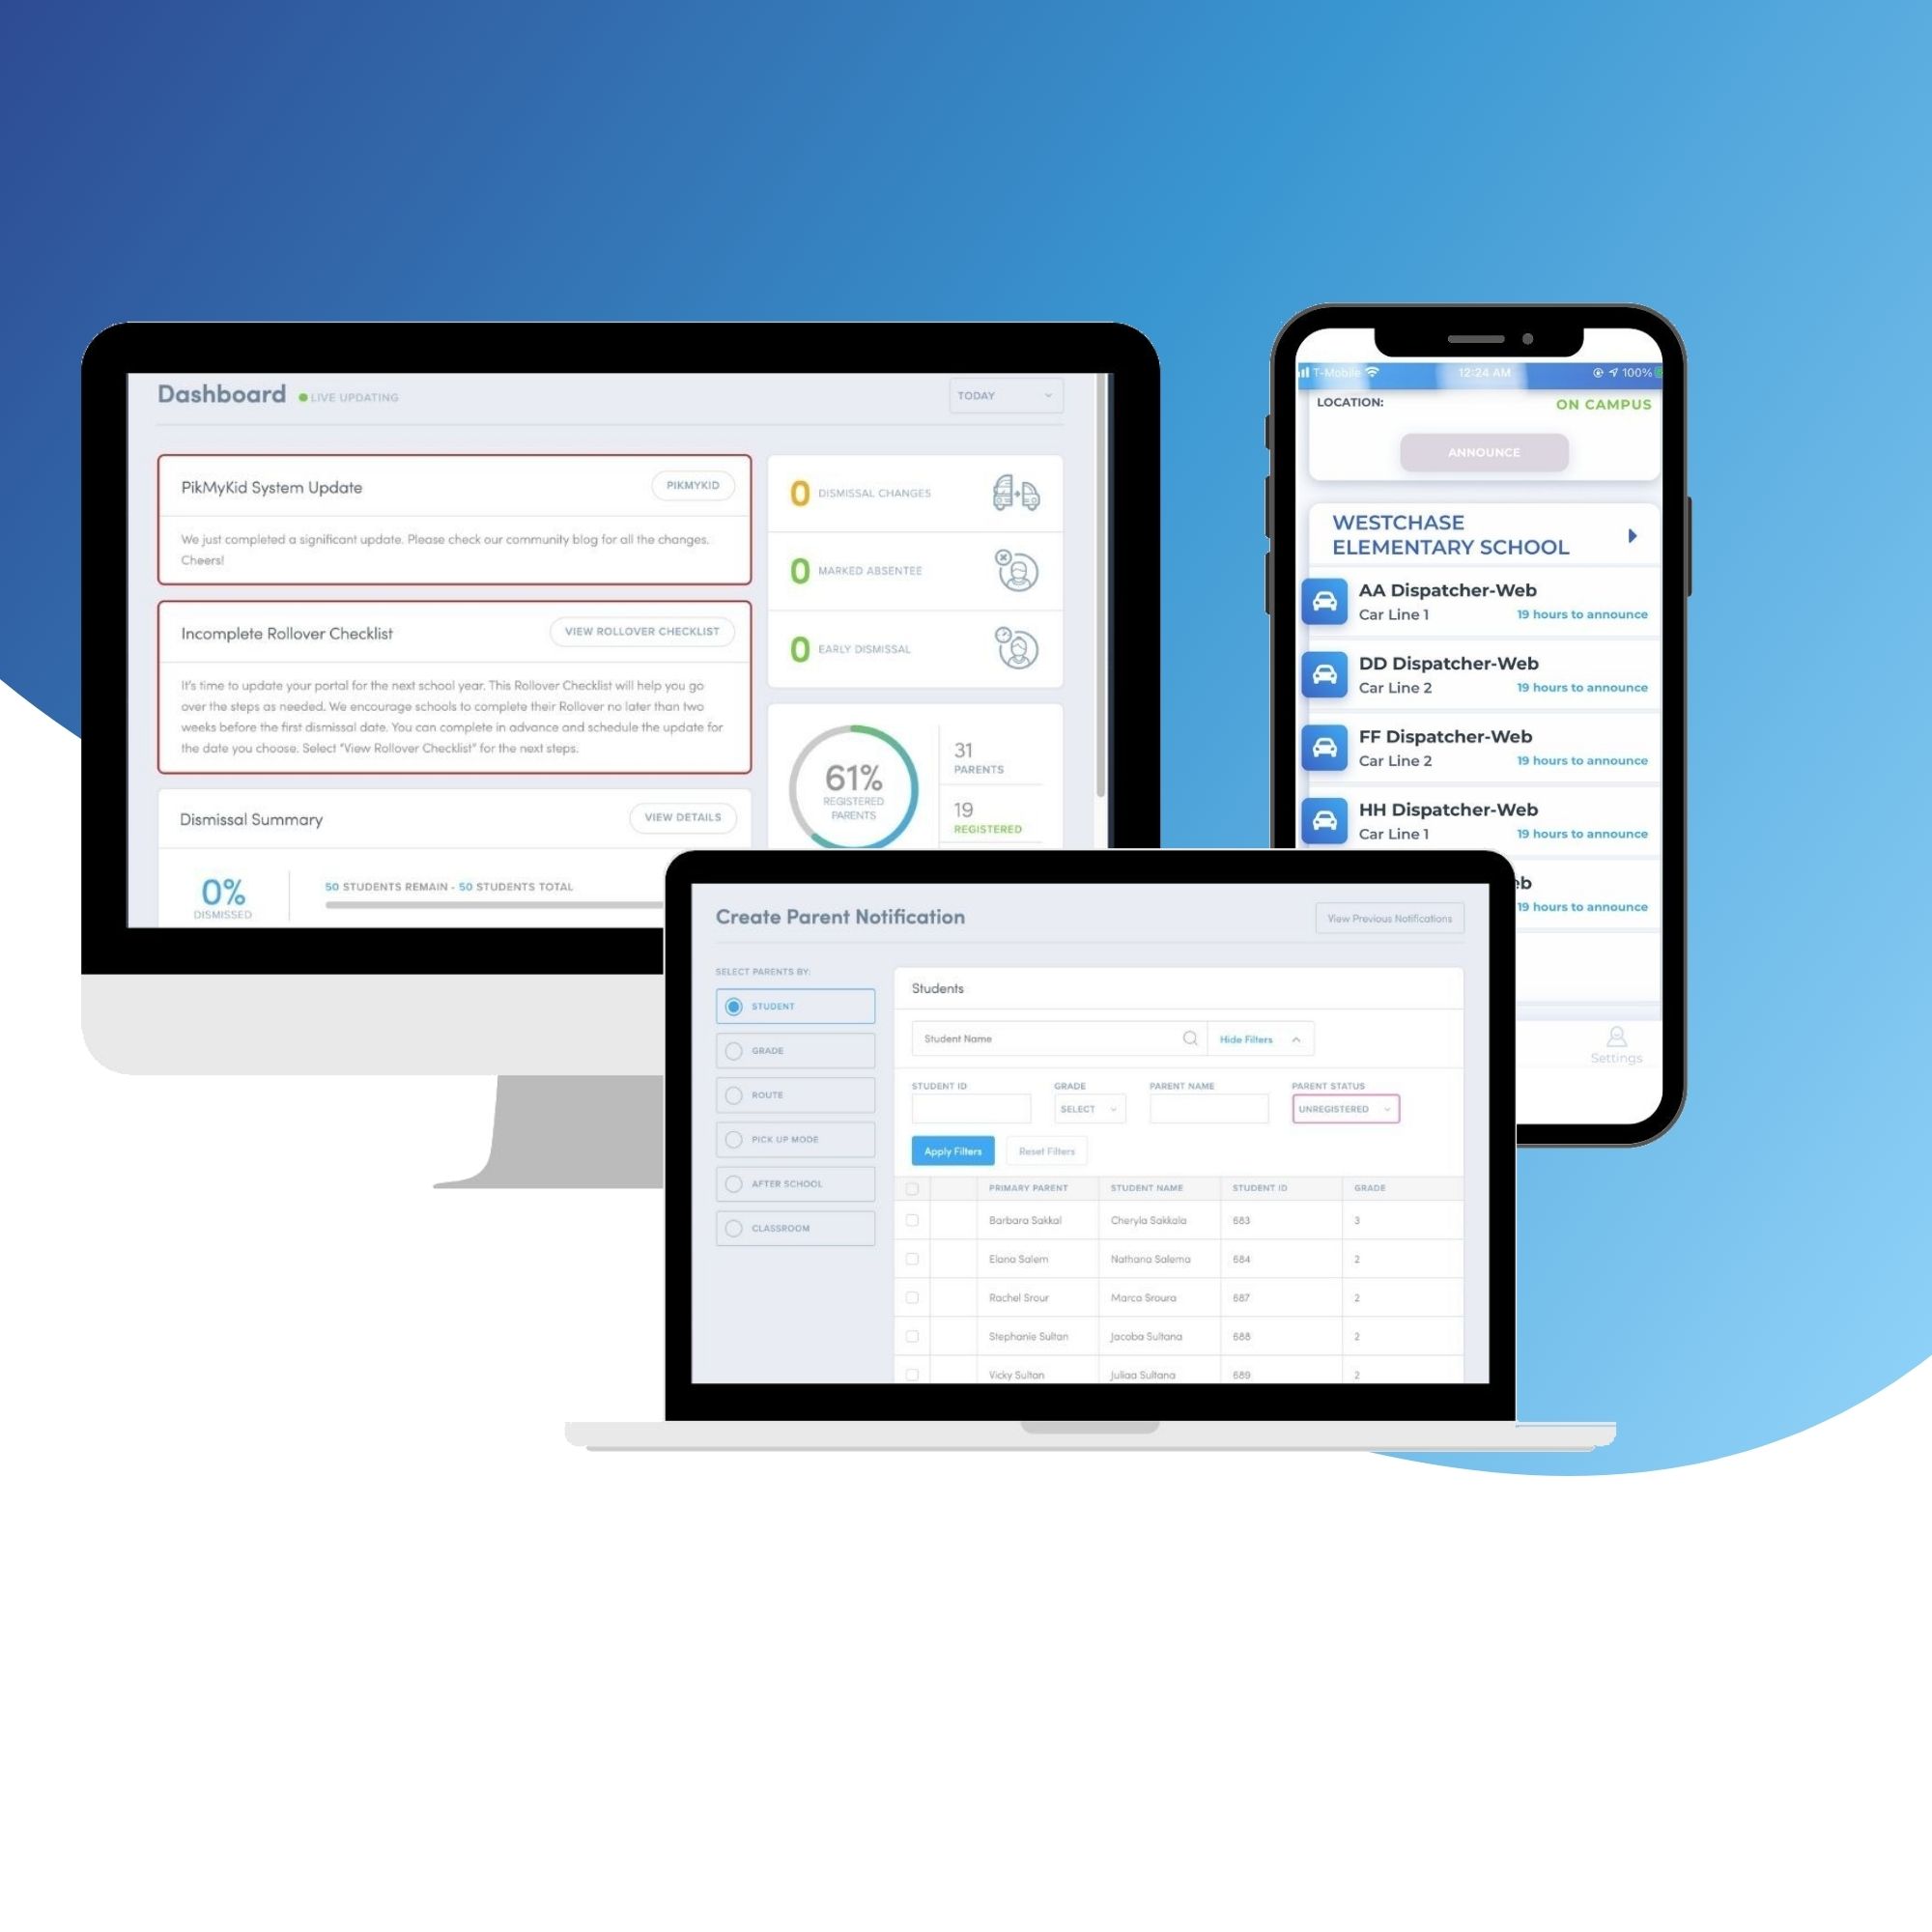
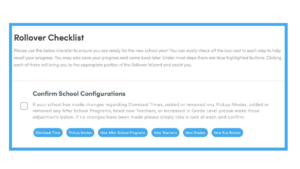
Go to your main PikMyKid Dashboard and Click to view your rollover checklist. You’ll be taken to the following page:
Step 2 – Navigating the Rollover Wizard
Click each blue button to navigate to that settings area, make changes, or simply confirm that the settings will not change. You can return here at any time by clicking the dashboard button and reopening the wizard or by using the back button.
Once you’re done with this step please mark it off using the check box to the left to help stay organized and on track.
Step 3 – Updating Student Files
*if you’re using data automation, please skip to step 5.
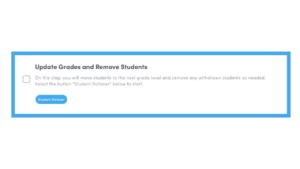
We’re going to update your students’ grades and remove graduates and students who are moving to another school.
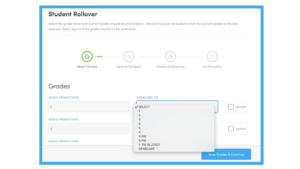
To do this, Use the “promoted to” drop downs to choose the average rules for your rollover.
For example, 1st grade will be promoted to 2nd or 5th will be graduating out.
You can also check “ignore” for any grades you want students to stay unaffected in, although this is rare for most schools.
In the next steps, you will be able to make any necessary exceptions per student (anyone being “held back” for example).
Now, we’re going to go through the students in each grade and mark if they’re: Pass, Held Back, or Remove.
- PASS = the student will be promoted to the next grade per the rules you set in the previous step
- HELD BACK = the student will be an “exception” to the grade rules and stay in their current grade.
- REMOVE = the student will be withdrawn and removed from the system
** Note– these changes will not take effect until after the date of your choosing in the next steps
Step 4 – Finalizing Rollover Dates
*if you’re using data automation, please skip to step 5.
To begin, you’re going to pick the date that you want your rollover to officially happen on.
**Please choose your rollover date with consideration. This is when your previously selected changes to student grade levels, passing, removing from the system etc will take official effect.
We recommend at least a week AFTER your final day of school this year and at least 2 weeks BEFORE your new school year starts.
This will ensure plenty of buffer time for parents to see the changes in their app before the start of the new school year & allow your staff to complete the remainder of new school year tasks.
Before you complete this step, please do an additional once over on the changes and adjustments that will take effect in your portal. You can review this by grade and see the expected changes for the student in the right column.
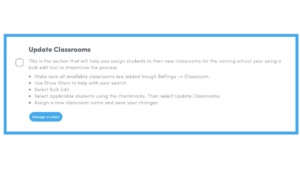
Step 5 – Updating Classrooms
*if you’re using data automation, please check with your IT or Pikmykid Account Manager if you need to complete this step.
Updating Classrooms can be done at a separate time from the main student grade rollover function if you wish. This step is important as it will insure that your teachers are organized and this should be done before back-to-school nights.
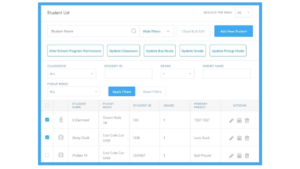
You can use the BULK EDIT function directly in the portal as described in the instructions. We recommend going grade by grade to stay organized. Many users prefer to assign ALL students in the school a temporary classroom they created (ex: TBD) so they can easily keep track of who has not yet been assigned for the new year. Once all students are assigned to TBD you can use the filters at the type for TBD classroom AND whichever grade you are currently working on. As you assign the students in that grade their new correct classroom for the school year they will disappear from the list on your screen.
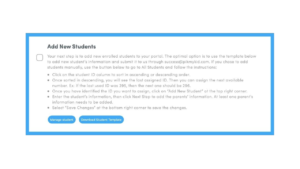
Step 6 – Add New Students
*if you’re using data automation, please skip to step 7.
To add new students, you need to decide if you’re going to use the template in this step or add them manually.
To use the template: download it and the new students’ information and then send it to us through [email protected].
To upload them manually, follow the steps on your screen.
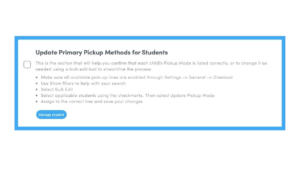
Step 7 – Update the Primary Pickup Methods for Your Students
*if you’re using data automation, please check with your IT or Pikmykid Account Manager if you need to complete this step.
You can ask parents to use their app to confirm their child’s primary pick-up mode for the new school year, except for the students that will primarily ride buses (which need route permission before parents can access them) This is often done at back-to-school night.
Please make sure your settings allow for parents to adjust their primary pick-up mode if you choose to encourage this. You can always toggle the setting on for several weeks then close it at the end of the first week of school etc.
You can find this setting: Settings wheel >> General >> Parents >> Allow parents to change default pick-up mode.
Step 8 – Parent Registration and Communication
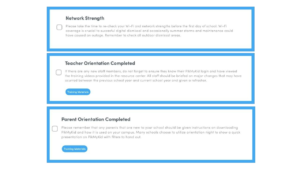
Make sure to remind all registered parents to update their app to the latest version prior to back to school night.
Remind all Unregistered parents to please register as soon as possible.
Sending messages through the system is a great way to take advantage of the engagement you have built and ensure parents are ready for the first day.
Steps 9-11 – Check your internet and Complete Training
Make sure to test your internet signal and WiFi to ensure you have the coverage needed for your parents and staff.
For any new staff and parents, we provide the tools to help you get them on board and trained before the first day of school.
Finally – Finalize Rollover
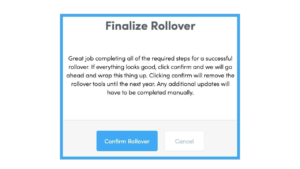
Once you have completed and marked off all of these steps you will see the FINALIZE ROLLOVER button appear at the bottom. Please click this then confirm on the pop-up when you are ready.
This will trigger the completion and remove the rollover wizard until next year.
CONGRATS!
