


Getting Started With Emergency Reunification
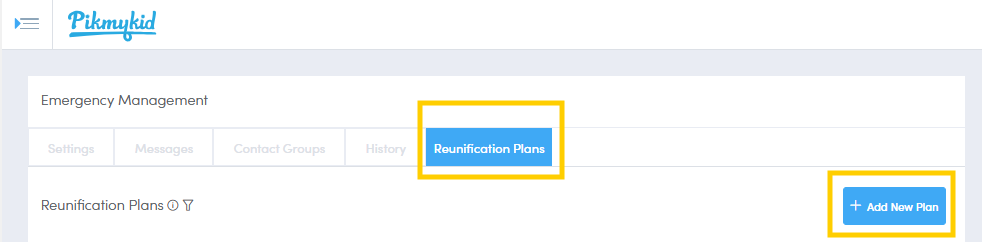
Before using the system, reunification plans will need to be created. Begin by clicking on the Settings Wheel in the upper right hand corner of the screen and click Emergency. Next, select Reunification Plans and then Add New Plan.
Start by giving your plan a Title (e.g. On-Site Plan, Off-Site Plan, Fire Reunification, etc.) based on the type of reunification you will be conducting. Next, determine the following locations for your campus. (These locations should be separated from each other for security and extra safety precautions):
Parent Check-In Area
Parents/guardians will arrive at this location to be verified and checked in by school staff.
Family Waiting Area
After parents/guardians are verified and checked in, they will then wait at this location to be reunited with their student.
Student Supervision Area(s)
Designated area(s) where staff will be checking in students and waiting with them until their parents have been checked in and verified.
Additional locations can be added by using the + button.
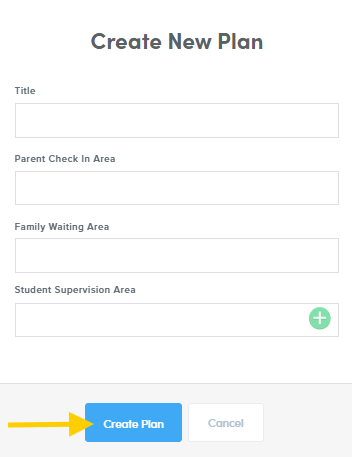
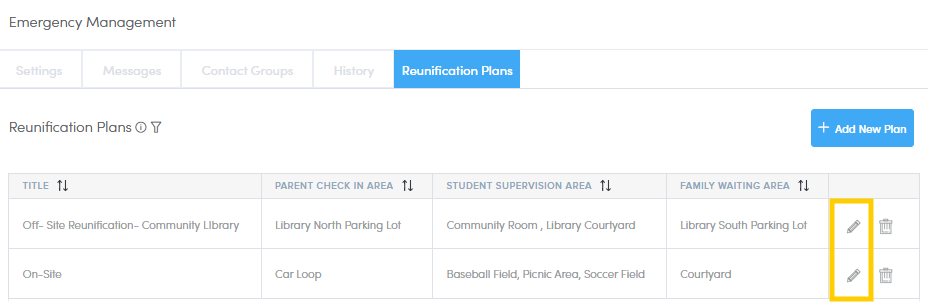
To save, click Create Plan, and repeat the process to add additional plans. At any time, plans can be updated or modified using the pencil icon from the Emergency Management dashboard.
Once your plans have been created, conduct a drill to test your emergency reunification system and processes.